
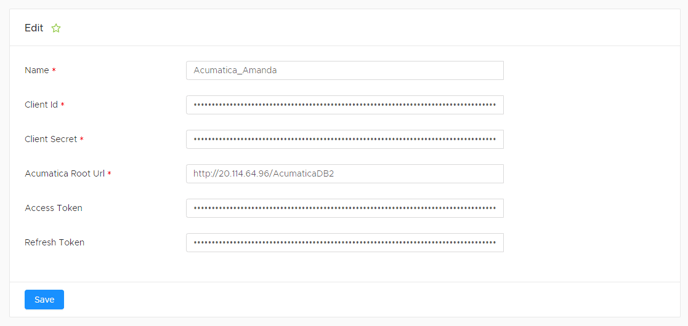
To make a Acumatica connection, the following credentials are needed:
|
Field Name |
Required/ Optional |
Description |
|---|---|---|
|
Name |
Required |
Provide a unique name for this credential |
|
Client Id |
Required |
Enter Client Id found on the user’s Acumatica profile |
|
Client Secret |
Required |
Enter Client Secret found on the user’s Acumatica profile |
|
Acumatica Root URL |
Required |
Enter Acumatica Root URL found on the user’s Acumatica profile |
|
Access Token |
Not Applicable |
Leave blank. This field will auto-populate when connected to Acumatica. |
|
Refresh Token |
Not Applicable |
Leave blank. This field will auto-populate when connected to Acumatica. |
There is an authorization step that is required. In Acumatica go to Integrations -> Preferences -> Connected Applications (expand Show More if you don't see the full list) -> Magnifying glass in the Client ID field and pick DataBlend application -> switch to REDIRECT URIS Tab and add https://ml.datablend.com/api/plugins/acumatica/oauth/authorized
Auth 2.0 Flow should be set to "Authorization Code".

Once all fields have been filled, users must connect to Acumatica via the Connect to Acumatica button within the Status section. Users must log into the Acumatica login screen to complete a valid credential connection.
Please note that a Test button is not available for this Credential.

Depending on your Acumatica configuration/structure, you may also be required to populate the ‘Username’ and ‘Password’ fields after establishing the connection via the connect button. If you are receiving an error at the collection of data from Acumatica, it is recommended that you populate these two fields as a potential resolution.
